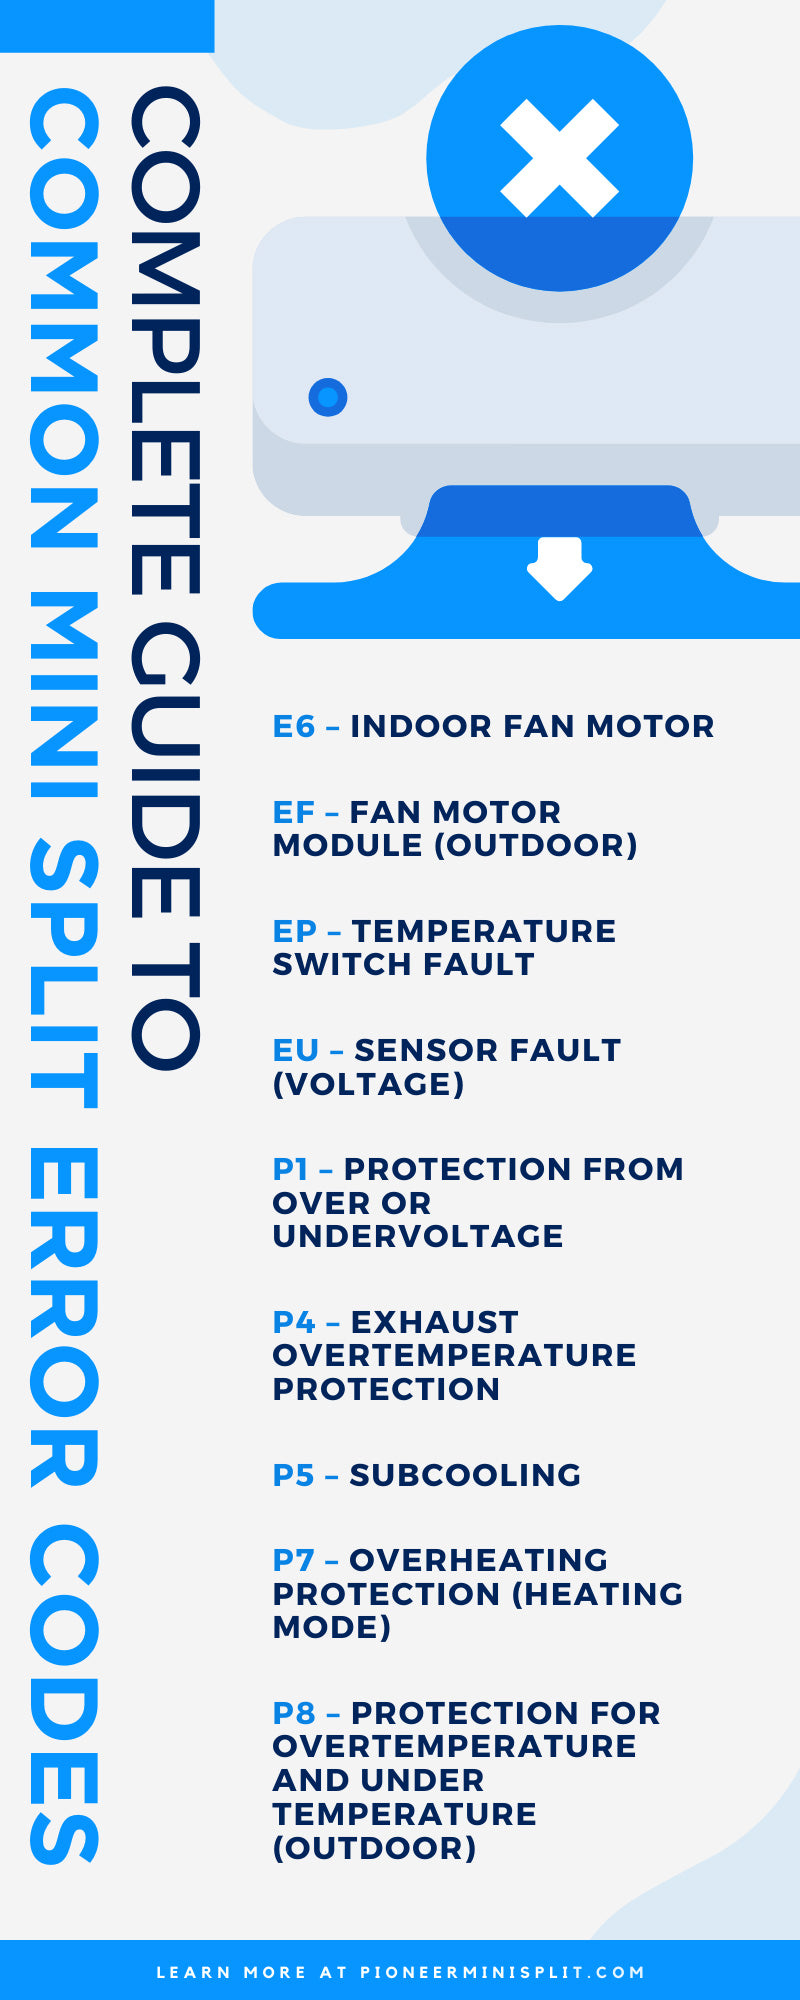
Error codes are useful since they let us know something isn’t right with the mini-split system. Still, they’re also concerning if we aren’t sure what they mean or how to deal with each type of air conditioner error code. In this article, we’ll look at the complete guide to common mini split error codes and what to do with each one. First, let’s talk about what a mini-split system is.
Mini-Split Systems
Mini-split systems allow you to control the temperature in individual rooms. Unlike a central air system that involves ductwork, mini splits use no ductwork and are hooked up in the rooms that need temperature control.
They work with two units: one outdoor compressor and an indoor handling unit. Mini splits are an excellent solution for smaller spaces, individual areas and rooms, and if there is a desire to avoid ductwork.
What Are Error Codes?
Error codes are installed in a mini-split system to alert the homeowner that something has gone wrong. Each Pioneer mini split error code represents an issue, and once you learn the codes, it’s easy to quickly assess the situation. Sometimes, a system seems to be running fine, and still, an error code pops up. Don’t ignore it. It’s a warning that if the error isn’t taken care of, the system may fail.
Quantum Series Error Codes:
- CL - Filter cleaning reminder (The code will disappear on its own after some time)
- EC 07 - Outdoor unit fan speed error (DC fan motor)
- EC 51 - Outdoor unit EEPROM error
- EC 52 - Outdoor coil temperature sensor error (T3)
- EC 53 - Outdoor ambient temperature sensor error (T4)
- EC 54 - Compressor discharge temperature sensor error (T5)
- EH 00 - Indoor unit EEPROM error
- EH 03 - Indoor fan speed error (DC motor)
- EH 60 - Indoor room temperature sensor error (T1)
- EH 61 - Indoor coil temperature sensor error (T2)
- EH 0A - Indoor unit EEPROM parameter error
- EH 0b - Communication error between the main control board and display board
- EL 01 - Communication error between the indoor and outdoor units
- EL 0C - Refrigerant leakage detection (Cooling mode only)
- PC 00 - Inverter module IPM error
- PC 01 - High- / low-voltage protection
- PC 04 - Compressor drive error
- PC 08 - Outdoor current overload protection
- PC 0L - Outdoor low ambient temperature protection
Diamante Series Error Codes
- Bf - TVOC sensor failure (IDU failure, optional)
- bc - PM2.5 sensor failure (IDU failure, optional)
- bj - Humidity sensor failure (IDU failure)
-
E0 - IDU and ODU communication failure
- E1 - IDU room temperature sensor failure (IDU RT failure)
- E2 - IDU coil temperature sensor failure (IDU IPT failure)
- E3 - ODU coil temperature sensor failure (OPT) ODU coil sensor and ODU PCB
- E4 - AC cooling system abnormal
- E5 - IDU / ODU mismatched failure (performance test on the production line)
- E6 - IDU PG fan motor / DC fan motor works abnormal (IDU failure)
- E7 - ODU ambient temperature sensor failure (ODU ambient sensor and ODU PCB)
- E8 - ODU discharge temperature sensor failure (ODU discharge sensor and ODU PCB)
- E9 - IPM / compressor driving control abnormal (ODU PCB, compressor, etc.)
- EA - ODU current test circuit failure (Is the ODU PCB broken?)
- Eb - Abnormal communication of the main PCB and display board (IDU failure)
- EE - ODU EEPROM failure
- EF - ODU DC fan motor failure
- F0 - Infrared customer feeling test sensor failure (IDU failure)
- F1 - Electric power test module failure (IDU failure)
- F2 - Discharge temperature sensor failure protection
- F3 - ODU coil temperature failure protection
- F4 - Cooling system gas flow abnormal protection
- F5 - PFC protection (Check the troubleshooting guide for details)
- F6 - The compressor lack of phase / anti-phase protection
- F7 - IPM module temperature protection (Check the troubleshooting guide for details)
- F8 - 4-way value reversing abnormal (Check the troubleshooting guide for details)
- F9 - The module temperature test circuit failure (ODU PCB)
- FA - The compressor phase-current test circuit failure
- Fb - Limiting / reducing frequency for overload protection in Cooling / Heating mode.
- FC - Limiting / reducing frequency for high-power consumption protection
- FE - Limiting / reducing frequency for module current protection (Phase current of the compressor)
- FF - Limiting / reducing frequency for module temperature protection
- FH - Limiting / reducing frequency for compressor driving protection
- FP - Limiting / reducing frequency for anti-condensation protection
- FU - Limiting / reducing frequency for anti-frost protection
- Fj - Limiting / reducing frequency for discharge over-temperature protection
- Fn - Limiting / reducing frequency for ODU AC current protection
- Fy - Gas leakage protection (Check the troubleshooting guide for details)
- EU - ODU voltage test circuit abnormal
- P0 - IPM module protection (ODU PCB)
- P1 - Over / under-voltage protection
- P2 - Over-current protection
- P4 - ODU discharge pipe over-temperature protection
- P5 - Sub-cooling protection in Cooling mode
- P6 - Overheating protection in Cooling mode
- P7 - Overheating protection in Heating mode
- P8 - Outdoor over-temperature / under-temperature protection
- P9 - Compressor driving protection (Load abnormal)
- PA - Multi-split conflict code (one indoor unit tries to heat while another tries to cool)
The long list is helpful so keep it near the mini-split system in order to check error codes when necessary.
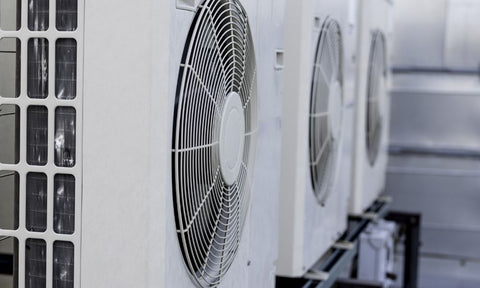
Pioneer Mini Split Troubleshooting Error Codes
Even if you memorize all error codes, you’ll still need to know what to do when one makes its presence known. The first thing you want to do is figure out how to make the error code go away. This won’t fix the problem, but it’s the first step in clearing everything and getting the mini split to run efficiently again.
To clear the error code, turn off the unit, then the breaker. Fix the issue and turn the unit back on. If you aren’t ready to fix the problem, you can turn the unit back on anyway, after a few minutes. Then see if the air conditioner error code goes away. If the problem is still there, the code will return.
After clearing the code, whether it’s a professional or yourself, it’s time to check for the three most common reasons for error codes to show up. Although there are many codes, they can all stem from one of the following reasons:
- Problem with the wiring
- Faulty sensor
- Faulty PCB
To troubleshoot the wiring and sensors, simply check all wiring connections and sensors to see if there’s a malfunction. Another possibility is the computer board (PCB) is not reading the correct voltage from the sensors. That causes an error code as well.
Here’s a list of the possible sensors to check:
- Indoor room temperature (T1)
- Evaporator temperature (T2)
- Condenser temperature (T3)
- Outdoor ambient temperature (T4)
- Compressor discharge temperature (T5)
To check a sensor, use the manual the system came with to locate the sensor you need to check. Look at the sensor and wiring for any possible shorts or breaks. Also, check for resistance. Unfortunately, sometimes a unit was wired wrong from the beginning, and after a period of time goes by, the mini split error codes begin to alert.
If all sensors and wiring seem fine, this usually points to the PCB, and it may need replacing. Unfortunately, many of these repairs are not suitable for DIY. Call your technician right away to get your mini-split system running efficiently and safely.
Perform Regular Maintenance
Schedule regular maintenance with your HVAC professional twice a year. This is often done in the spring to prepare for summer, then again in the fall to prepare for the colder months. An HVAC technician will do the following at a mini-split system checkup:
- Clean filters and replace them if necessary
- Clear out any debris or obstacles in the way of the outdoor unit
- Check all valves and tighten or replace them when needed
- Clean the coils
- Check for refrigerant leaks
You can help maintain your system between visits by keeping debris, overgrown landscaping, and snow away from the outdoor unit. Check filters occasionally when the unit has been working hard. Keep an eye out for wiring, tubing, or valves that don’t look right. Be aware of odd smells coming from the unit, both indoors and outdoors.
Don’t ignore odd sounds, either. Contact your HVAC professional if your senses notice anything unusual. And of course, if the temperature isn’t responding as it should, schedule a visit with your technician.
Mini-split systems are the perfect solution for the following types of areas:
- Smaller homes that don’t need a large central unit
- Single rooms that aren’t heated or cooled efficiently
- New additions without ductwork
- New builds when the owner is choosing no ductwork
As you heat and cool your home, keep the system maintained and use this complete guide to common mini split error codes when needed. In return, a mini split will give you years of comfort with an efficient system.
At Pioneer Mini Split, we take pride in offering the highest quality mini-split systems. We offer a floor mini split as well as all other mini split options. Browse our online store, or contact us for more information.